Wednesday, January 21, 2015

Thor's Hammer (Mjolnir) (Part 3)!

Last installment of Thor's hammer!! I love myeu-muh with all my heart just like all my other props, but a little more because me and my sister have an ongoing joke about her being secretly adopted and how she is rightful to the family estate, making me Thor.

Step six: I flattened the hammer as much as possible with the hot knife.

Step seven: I used Plaster of Paris to strengthen the the hammerhead and hold the PVC pipe in place. I painted on about three layers of plaster before sanding it down.

Step eight: I covered the entire hammer in the Bondo Glazing and Spot Putty, from Captain America's shield, to fill in all the small cracks in the plaster. After that dried I sanded that down to a smooth finish as well.

Step nine: I used a dark grey automotive primer to cover the hammer and handle.

Step ten: I used a hammered grey spray paint, it gives the antique and used effect.

Step eleven: I used black puffy paint for the symbols on the side, but the puffy paint slid down the edges and looked awful so I wiped it away and finished the last two sides with black craft paint.

Step twelve: Because the black paint looked awful as well I wiped it away too and dremeled the symbols into the angled edges.

Step thirteen: I used a black stain that my mom had and painted it into the symbols.


Dancing Baby Groot (Part 2)!

Okay so this will be the last blog entry for dancing baby Groot!!

Now since the Flip-Flap didn't work, I decided an old motor that my dad had taken out of an old something. It is a motor that can be found at SkyCrafters or similar establishments. It is a six volt direct current motor.

Step one: Find a shoe box or a box about that size. It has to fit a large battery and small motor. I made my box cushy with some Styrofoam pieces. I also covered my Vans shoe box in green cardstock to make it pretty.

Step two: I basically welded the two wires from the motor to the battery.

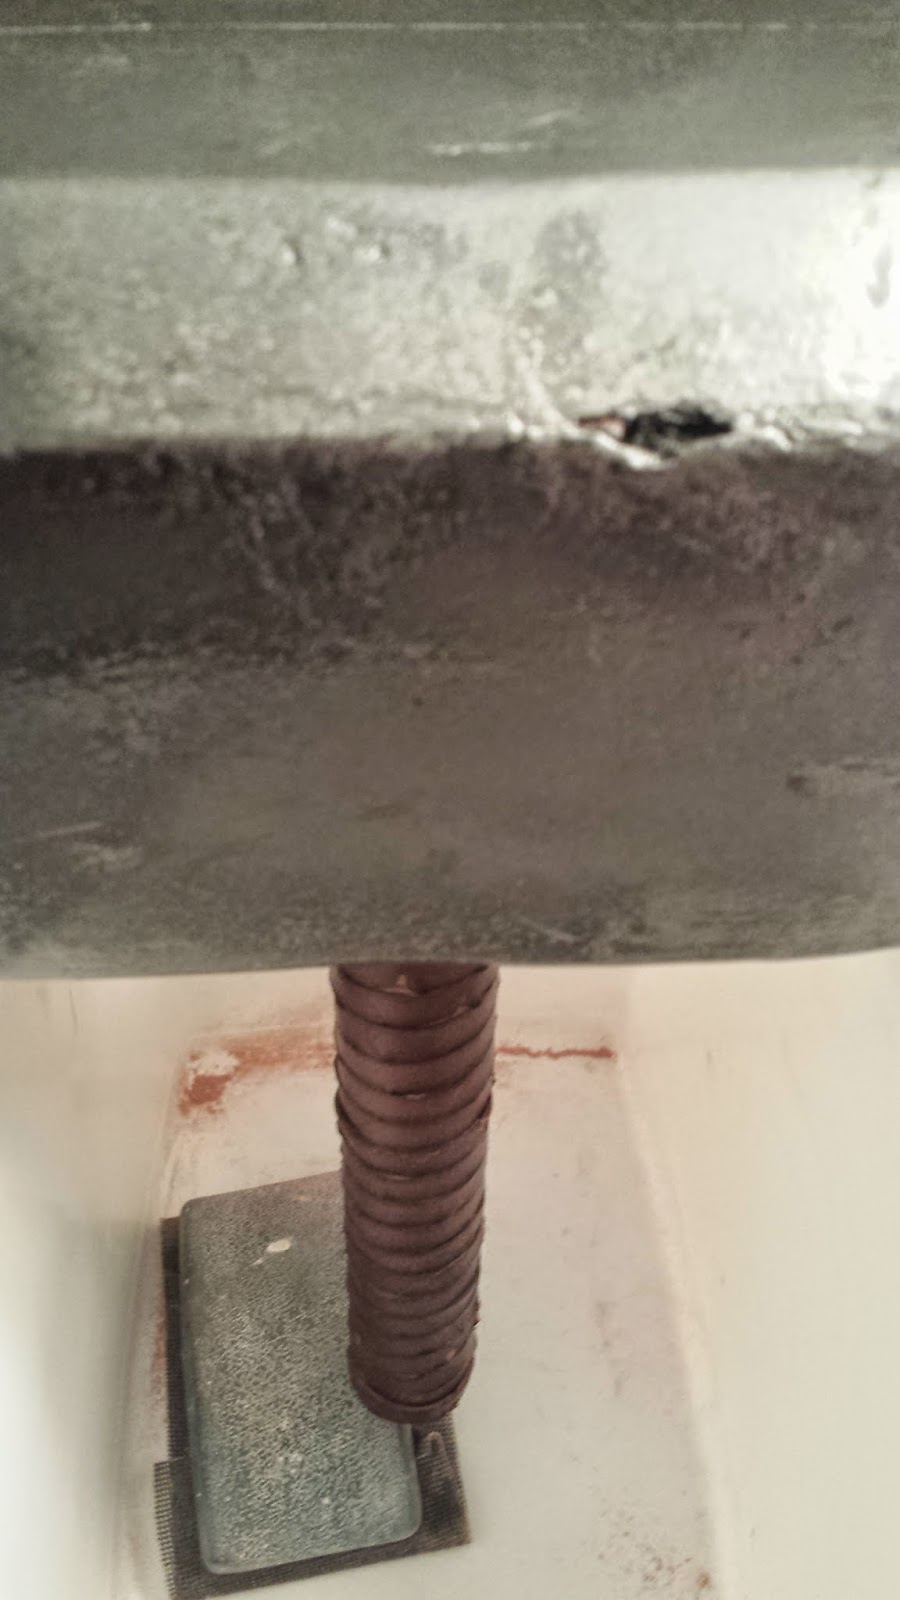
Step three: I used a metal pipe as the base of Groot's body. I bent it into two small curves, around where his hips and shoulder were. Then I pushed it through a metal hose-y thing, to give it more of a body shape.

Step four: I then used the bake clay I bought and formed one golf ball sized hear and added some hair like green pieces of clay to it.

Step five: While the clay baked I made the actual body look like a tree, using old mop strings, twine, brown string, and pipe cleaner. (The pipe cleaner was the bottom layer because I hate pipe cleaner and it looked ugly.) I wrapped one pipe cleaner around just beneath the bend for his shoulders, as arms. I then decorated him up with the strings and twine, each gave him a different texture, which I liked.

Step six: I took the body and the head out to the garage and did an extremely light layer of brown spray paint over both.

Step seven: After the head and body dried I placed some green moss used for floral decorations around the base of the pot and in some of the cracks and crevices of Groot's body, it gave him and even earthy look!

Step eight: Put on "I Want You Back" - Jackson 5 and let the little guy jam out, just make sure he doesn't catch you watching you him. ;)


Monday, January 19, 2015

Captain America's Shield (Part 8)!

LAST PART!!! YAY!!!!

Step thirty-seven: I measured out some brackets for the back of the shield using a thicker sheet of sheet metal.

Step thirty-eight: Using two old belts that I bought at a garage sale I cut a small section with the buckle ends. Then two smaller sections at the middle section of each belt.

Step thirty-nine: Then with a rivet gun I attached the belts to the brackets.

Step forty: I used the same industrial two way tape to attach the brackets to the inside of the shield.

And now you have a Captain America shield!!


Captain America's Shield (Part 7)!

Almost done! Two more posts left!

Step thirty-three: After the paint on the star dried. We used the special two way industrial strength tape and cut small pieces and placed them onto the back of the star then peeled the protective layer away and placed it gently on the center of the shield.

Step thirty-four: Sadly one of the three holes wasn't covered so we took the Bondo Glazing and Spot Putty and fill it in and went over the putty with a dark blue nail polish that I had.

Step thirty-five: I lined took a black Sharpie and traced back around the circles and once the Sharpie dried I took a silver metallic Sharpie around over the black. It created a fantastic barrier to the colors.

Up next is the brackets and belts.